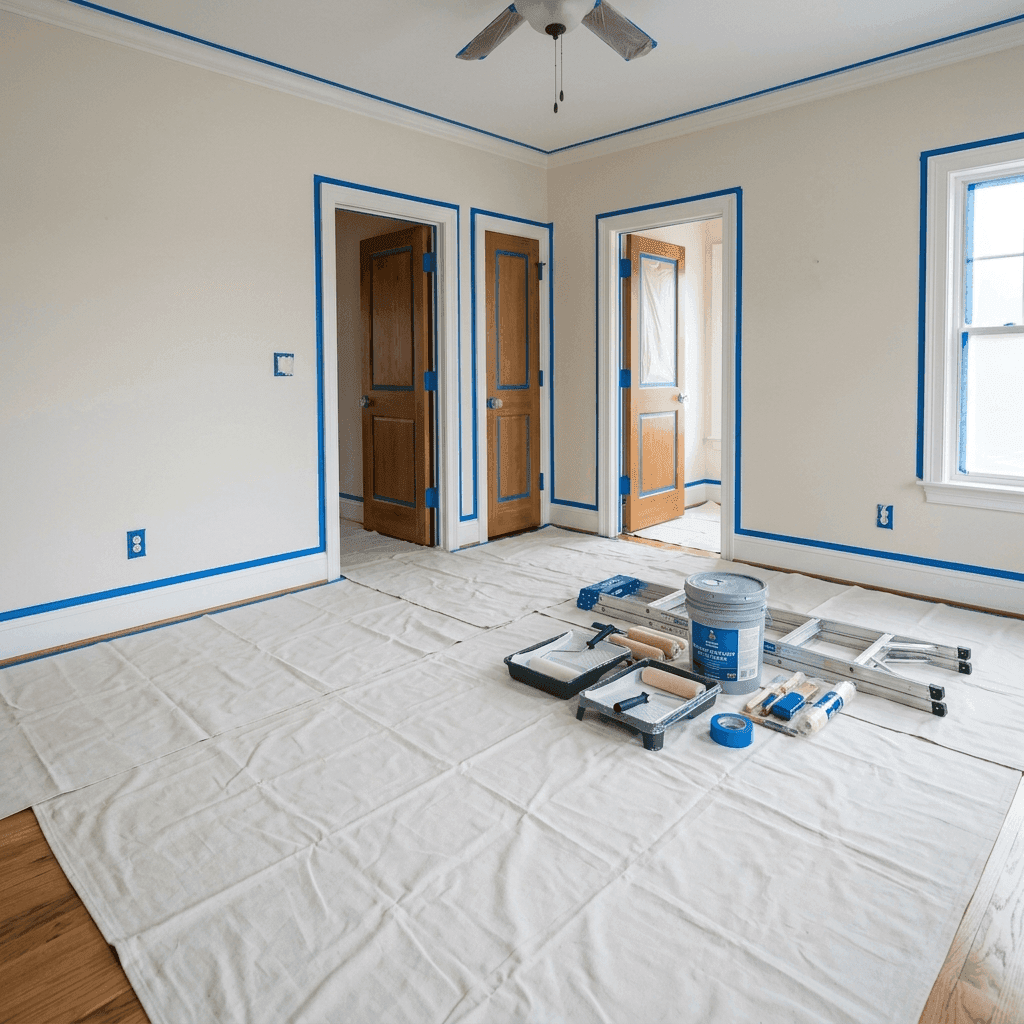
Wallpaper Removal project in Los Angeles
How-To

How to Remove Wallpaper Without Damaging Drywall

For Los Angeles homeowners, wallpaper removal cost and planning come down to scope, prep, and timing. Most jobs start near $400 to $900 and move up fast when the surfaces, access, or finish standard get more demanding.

8 min

Reading time

How-To

Guide type

Wallpaper Removal

Best next move

Israel AquinoPublished April 4, 20268 min read

For Los Angeles homeowners, wallpaper removal cost and planning come down to scope, prep, and timing. Most jobs start near $400 to $900 and move up fast when the surfaces, access, or finish standard get more demanding.

Fast takeaway

Wallpaper Removal questions in Los Angeles usually start with two numbers: what is the likely range and what pushes a job out of it.

Fast takeaway

A lot of homeowners hear a low number early and assume the rest of the bids are padded.

Fast takeaway

Low-end benchmark for wallpaper removal: $400 to $900.

Fast takeaway

Planning the job well saves money because it prevents stop-start labor.

Need the real number?

Research is good. A written scope is better.

Use this guide to narrow the project, then send the basics for a real price conversation.

Get My Free Estimate

What this guide covers

How-To

Quick answer

For Los Angeles homeowners, wallpaper removal cost and planning come down to scope, prep, and timing. Most jobs start near $400 to $900 and move up fast when the surfaces, access, or finish standard get more demanding.

8 min

Reading time

Built for homeowners who want the practical version first, then the contractor detail right after.

Plan

Best next step

Use this guide to get oriented, then jump into wallpaper removal pricing or request a real estimate.

Section 01

The Short Cost Answer

Wallpaper Removal questions in Los Angeles usually start with two numbers: what is the likely range and what pushes a job out of it. For this topic, the working range to keep in your head is $400 to $900 at the entry level and $2,500 to $6,500+ once the scope gets larger, more detailed, or more prep-heavy.

Those numbers show up across jobs in Pasadena, Los Feliz, Altadena, but the reason they move is almost always the same. Surface condition, access, finish expectations, and schedule pressure change the labor first. Paint is part of the budget, but labor is what decides whether a quote is smart or just cheap.

This guide is written the way we explain it in a walkthrough: direct, number-driven, and tied to the real work. No filler. Just what changes the job, how to budget it, and where homeowners usually misread the scope.

Section 02

What Actually Moves the Price

A lot of homeowners hear a low number early and assume the rest of the bids are padded. Most of the time, the opposite is true. The low quote simply leaves out prep. When a room, cabinet set, ceiling, or exterior surface looks rough, the steps that make the finish hold add hours fast. Sanding, masking, patching, priming, degreasing, moving furniture, resetting hardware, and daily cleanup are where the real difference shows up.

For Los Angeles work, the practical benchmark is this: basic scopes sit closer to $400 to $900. Bigger or more detailed jobs sit closer to $2,500 to $6,500+. In neighborhoods like Pasadena or Los Feliz, access and finish expectations can push the labor harder. In easier-access neighborhoods, the same service may stay closer to the lower bands if the substrate is clean and the scope is simple.

The mistake is comparing bids without comparing what is actually included. If one contractor is counting protection, prep, two full coats, and a walkthrough touch-up, while another is counting a fast cosmetic pass, those are not the same product even if the service name sounds identical.

Still comparing options?

Most readers stop here and ask for the real number.

The guide gives you the scope logic. The next step is matching it to your actual rooms, surfaces, timeline, and finish expectations.

Section 03

How to Read a Quote Like a Contractor

The fastest way to understand a quote is to ask what the contractor sees when they look at the surface. Is there old failure? Is there contamination? Is the house occupied? Are there access limits? Is the client asking for a tighter finish than the substrate naturally wants to give? Those answers predict the price better than square footage alone.

Take the same service across three neighborhoods. In Pasadena, the issue might be premium finishes and a tighter visual standard. In Los Feliz, it might be bright side light or coastal exposure. In Altadena, it might be speed, family wear, or builder-grade materials that need more prep before they can be upgraded. The city does not change the basic trade. It changes how the trade gets executed.

That is why cost guides that ignore local conditions are usually off by 10 to 30 percent in one direction or the other. They give a number without the labor story behind it. Homeowners end up budgeting for the wrong version of the job.

  • Low-end benchmark for wallpaper removal: $400 to $900.
  • Upper working range for larger scopes: $2,500 to $6,500+.
  • Most common hidden driver: prep work that is obvious in person and invisible in listing photos.

Section 04

How to Plan the Scope Before Work Starts

Planning the job well saves money because it prevents stop-start labor. If the scope includes related work, group it intelligently. For example, pairing Wallpaper Removal with Drywall Repair & Paint or Interior Painting often cuts down duplicate setup and touch-up.

You should also make decisions before the crew arrives. Colors, sheen, room order, access rules, pets, parking, gate codes, HOA requirements, and furniture handling all affect production. Every late decision costs time. Time costs money. That sounds obvious, but it is one of the main reasons a well-planned repaint stays smooth while a poorly planned one feels expensive.

Occupied homes need even more planning. A contractor who protects the right rooms, sequences drying times, and cleans daily will finish faster than a crew that moves chaotically. Organized work saves time because it avoids rework and keeps the space usable.

Still comparing options?

Most readers stop here and ask for the real number.

The guide gives you the scope logic. The next step is matching it to your actual rooms, surfaces, timeline, and finish expectations.

Section 05

The Mistakes That Blow Up Budgets

The most common homeowner mistake is budgeting only for the visible finish instead of the substrate under it. The second most common mistake is buying the cheapest bid without asking what was removed to get there. Usually the missing items are the exact steps that make the finish last: prep, primer, door removal, dust control, dry time, cure time, or final touch-ups.

The third mistake is trying to value-engineer the wrong part of the project. If the house needs more prep, cheaper paint will not save it. If the job needs better protection and access planning, less masking will not help. The smarter move is to simplify the scope honestly: fewer rooms, fewer surfaces, or a staged approach. That protects the finish standard instead of hollowing it out.

A useful rule is this: if the quote sounds surprisingly low, ask what the contractor expects the surface to look like when they leave. If the answer is vague, the bid probably is too.

Section 06

Why Local Conditions Matter in Los Angeles

Los Angeles also punishes generic advice because housing stock changes so quickly. A repaint in Pasadena is not the same as the same label in Los Feliz. Different access, different substrates, different expectations. Good local contractors price the reality, not the headline.

That is why our service pages break the work down by area. If you are budgeting this scope in one of these neighborhoods, compare the city-specific pages directly: Wallpaper Removal in Pasadena, Wallpaper Removal in Los Feliz, Wallpaper Removal in Altadena. Those pages explain how the same service shifts when the local housing and logistics change.

The goal is not to make the job sound complicated. It is to show what the quote is actually paying for. Once homeowners understand that, the right price range makes much more sense.

Still comparing options?

Most readers stop here and ask for the real number.

The guide gives you the scope logic. The next step is matching it to your actual rooms, surfaces, timeline, and finish expectations.

Section 07

What Good Contractors Explain Before Work Starts

One of the easiest ways to protect your budget is to ask the contractor to walk you through the sequence of work. In a real residential project, there is always an order that keeps momentum and an order that creates rework. Repairs first, protection second, primer where needed, finish coats after the substrate is stable, and touch-ups at the end. If a contractor cannot explain that order clearly, they probably do not control it in the field either.

You should also ask how they are handling cleanup and access. A crew that spends 20 minutes each morning looking for tools, moving furniture twice, or re-masking areas they rushed the day before is burning paid labor on avoidable chaos. On a 2-day or 4-day job, that inefficiency adds up faster than homeowners realize. Organized crews are not just easier to live with. They are cheaper in the long run because the hours produce better work.

That is especially true in Los Angeles, where parking, HOA windows, elevators, gates, narrow side yards, and occupied homes all change production. Good contractors price those realities up front. Weak contractors discover them after the job starts and then blame the site for the overrun.

Section 08

How to Decide What to Bundle and What to Stage

If you are deciding whether to move ahead now or stage the project, use this filter: will doing it later create duplicate setup, duplicate masking, or duplicate touch-ups? If the answer is yes, there is usually value in bundling the work. That is why homeowners often pair this scope with Drywall Repair & Paint or Interior Painting. A better sequence often saves 10 to 20 percent in labor compared with splitting everything into separate visits.

If the project needs to be staged, stage it around the surfaces people see and use most. In some homes that means walls and ceilings first. In others it means cabinets, trim, or the front exterior elevation. The best staging plan is the one that delivers a complete-looking result at every stop, not the one that leaves three half-finished spaces behind.

Homeowners who stage well usually make one more smart move: they lock the color and finish direction for the later phases early. That way the first phase does not need to be re-cut, repainted, or re-touched once the second phase starts.

That is the contractor mindset homeowners should borrow: think in finished zones, real labor flow, and the next visible win. Once you think that way, budgets stop feeling random and start feeling manageable.

Still comparing options?

Most readers stop here and ask for the real number.

The guide gives you the scope logic. The next step is matching it to your actual rooms, surfaces, timeline, and finish expectations.

Section 09

Bottom Line

The short version is simple. Budget with real ranges, compare scope instead of just totals, and make decisions early enough that the crew can keep momentum. If you do that, you can tell the difference between a good value and a number that only looks good on paper.

For hands-on pricing, start with Wallpaper Removal or jump straight to the area page that matches your property. If the house is in Pasadena, Los Feliz, or Altadena, the local matrix pages will get you closer than any national average ever will.

That is really the point of a good guide: not to replace a walkthrough, but to help you ask better questions before the walkthrough starts. Better questions usually lead to better quotes and fewer surprises.

And if you are hiring a contractor, ask for the written scope. That one document will tell you more about the job than any sales pitch.

Turn this guide into a real project number

If you are done researching and want a real quote, send the basics here and Red Stag will reply with a practical next step based on your actual project.

Good fit if you are moving from reading to booking.

Use it to turn cost guides into a real scope conversation.

Frequently Asked Questions

A realistic working range is $400 to $900 on the lighter end and $2,500 to $6,500+ once the scope is larger, more detailed, or prep-heavy.

The difference is usually prep, protection, access, and finish standard. Two bids can use the same service name while describing very different amounts of work.

Ask what prep is included, how many coats are planned, what could move the price higher, how long the job should take, and what the finish is expected to look like when the crew leaves.

Usually yes. When related scopes are sequenced in one visit, you avoid duplicate setup, reduce touch-ups, and keep the finish more consistent from room to room or surface to surface.

Ask the project question

Still missing your answer?

Send the actual job details and skip the generic internet answer loop.

Get My Free Estimate

Ready to Transform Your Space?

We respond within 2 hours. Exact pricing after a free walkthrough.

Call Now
Get My Price